Le Tutoriel de texte pour parler dans Android
1. Vue générale
Convertissant le texte en parole est une caractéristique comprise dans Android depuis API 21, il vous permet de transférer un texte en parole . Il soutient de différentes langues. Pour effectuer cette fonction, vous devez utiliser la classe android.speech.tts.TextToSpeech.
Pour Android API Level 23 ces localités (locale) ci- dessous seront prises en charge:
- en_US
- de_DE
- fr
- es_ES
- de
- en
- it_IT
- it
- en_GB
- es
- fr_FR
2. Exemple de Text à Speech
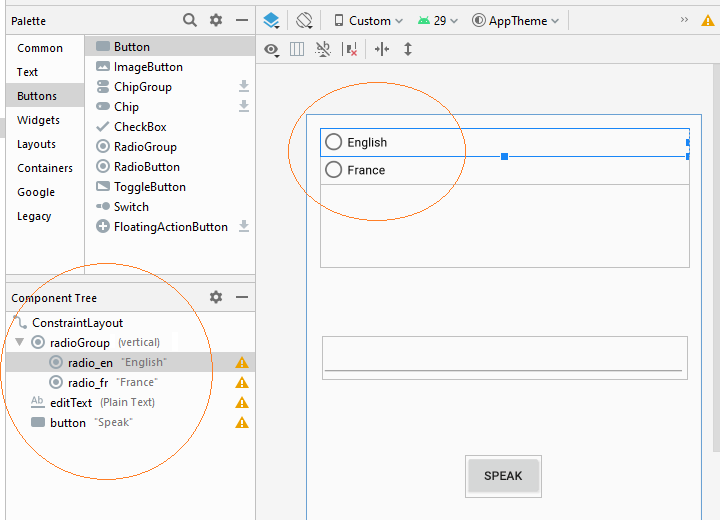
Créez un projet baptisé TextToSpeechDemo:
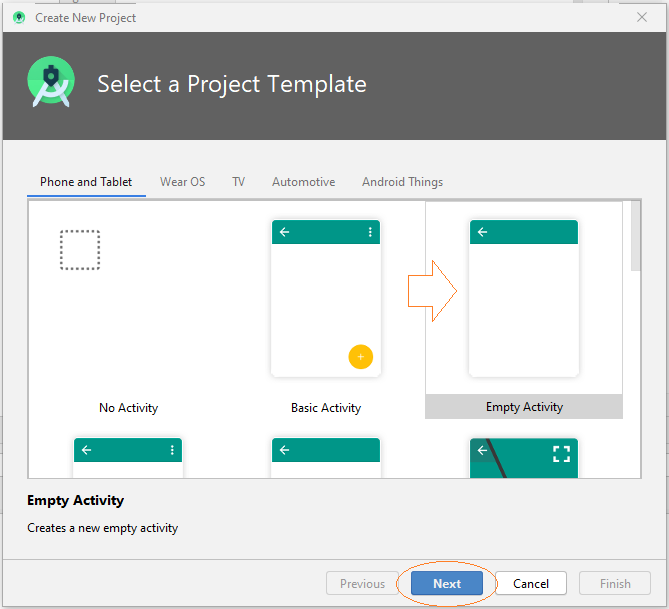
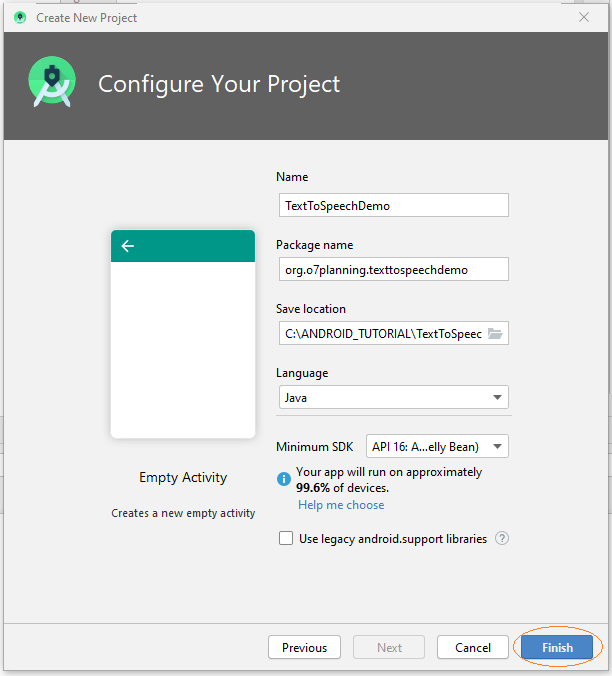
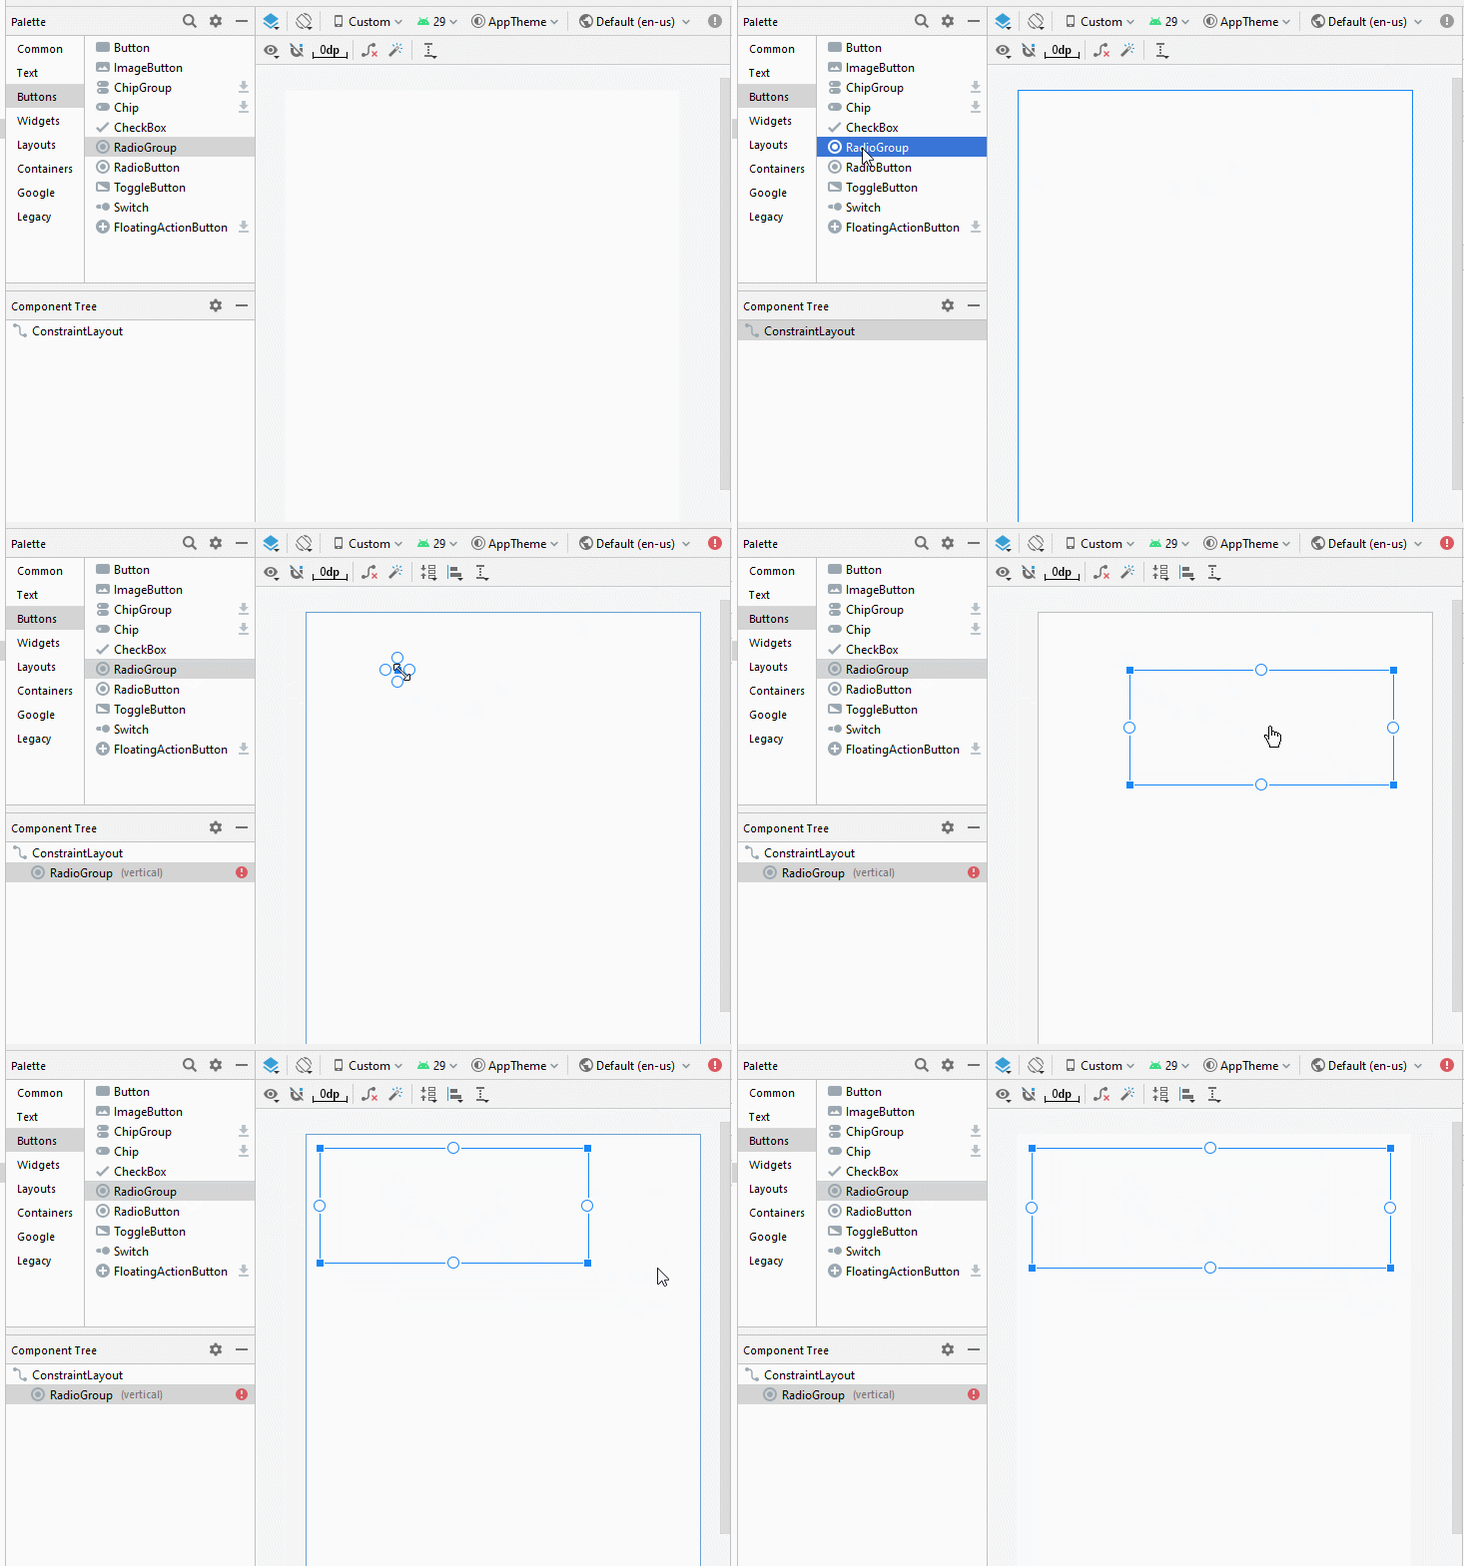
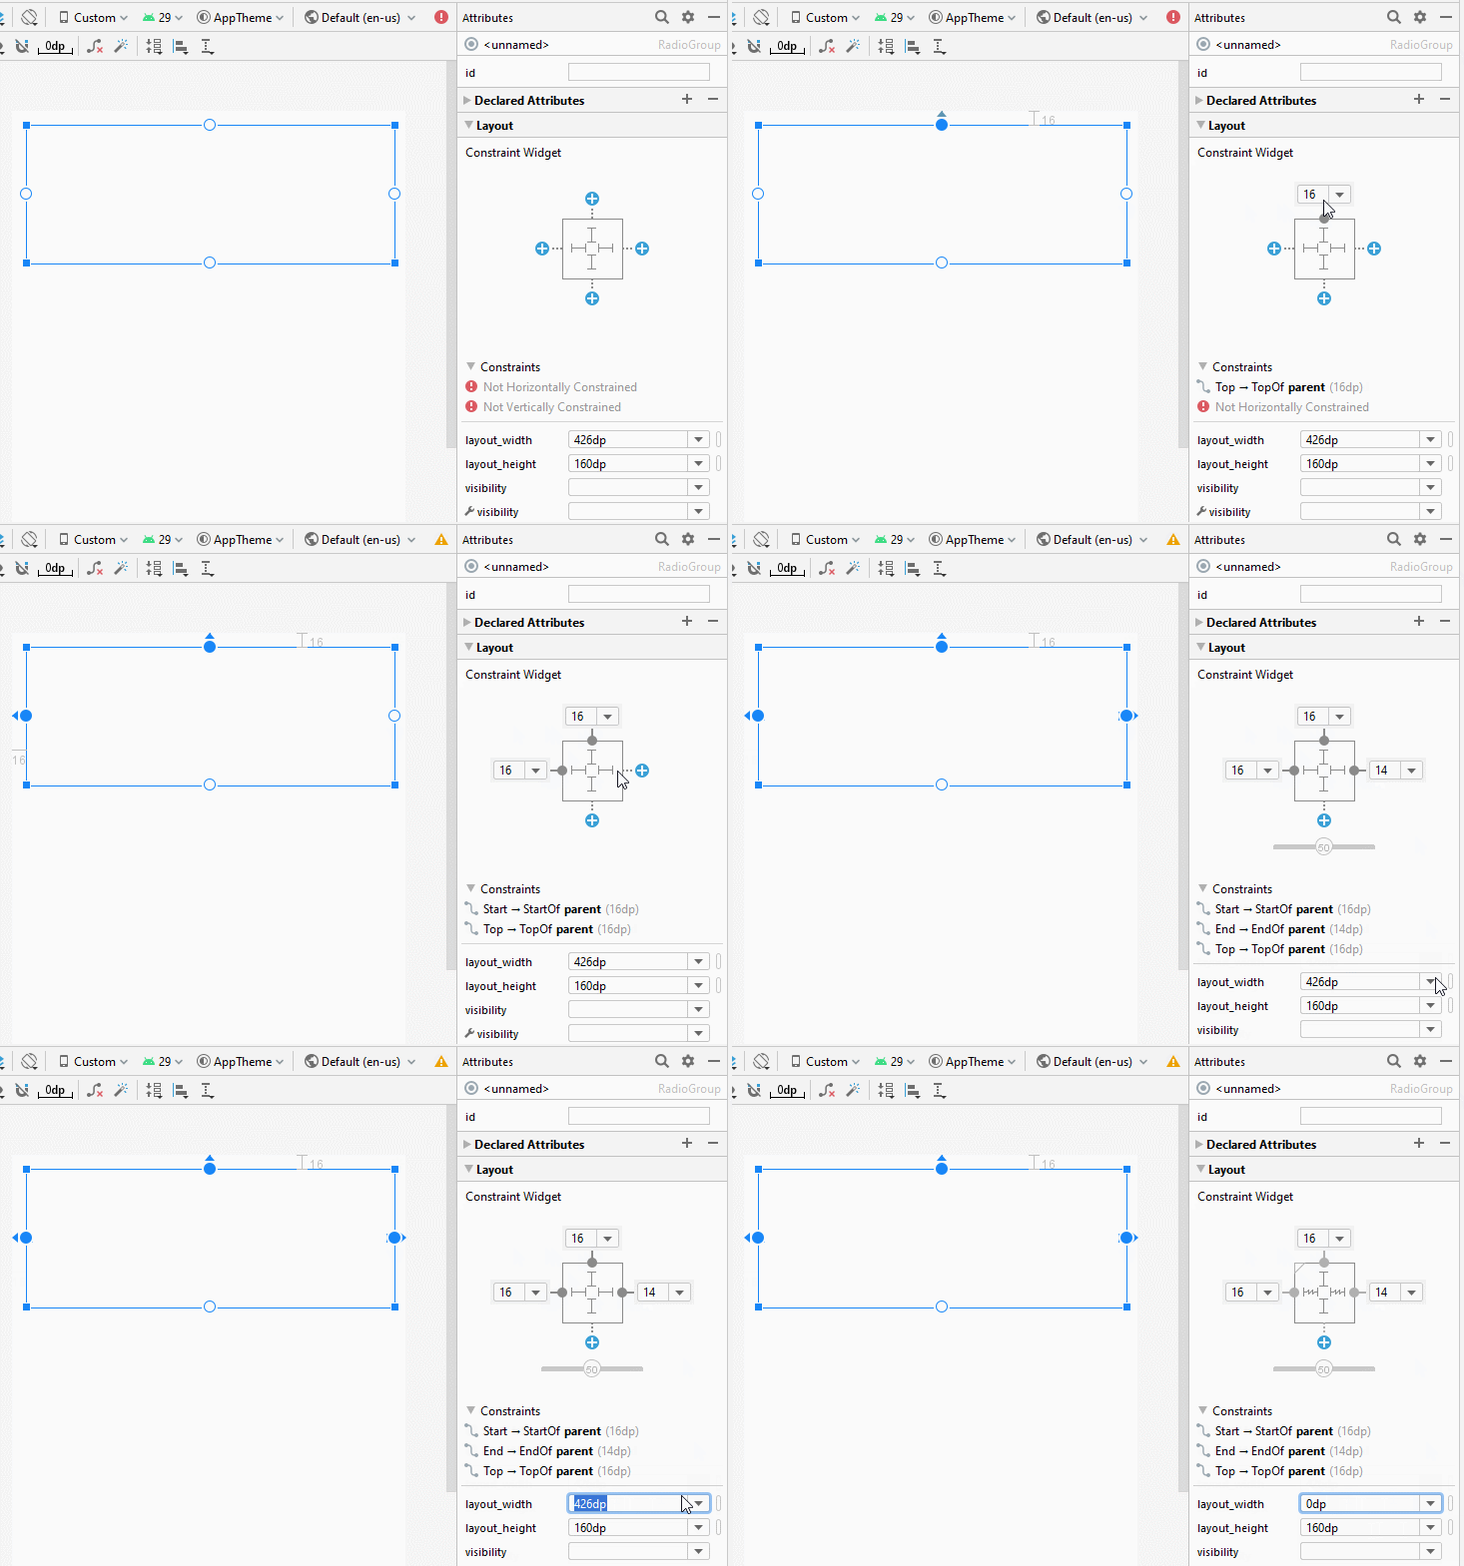
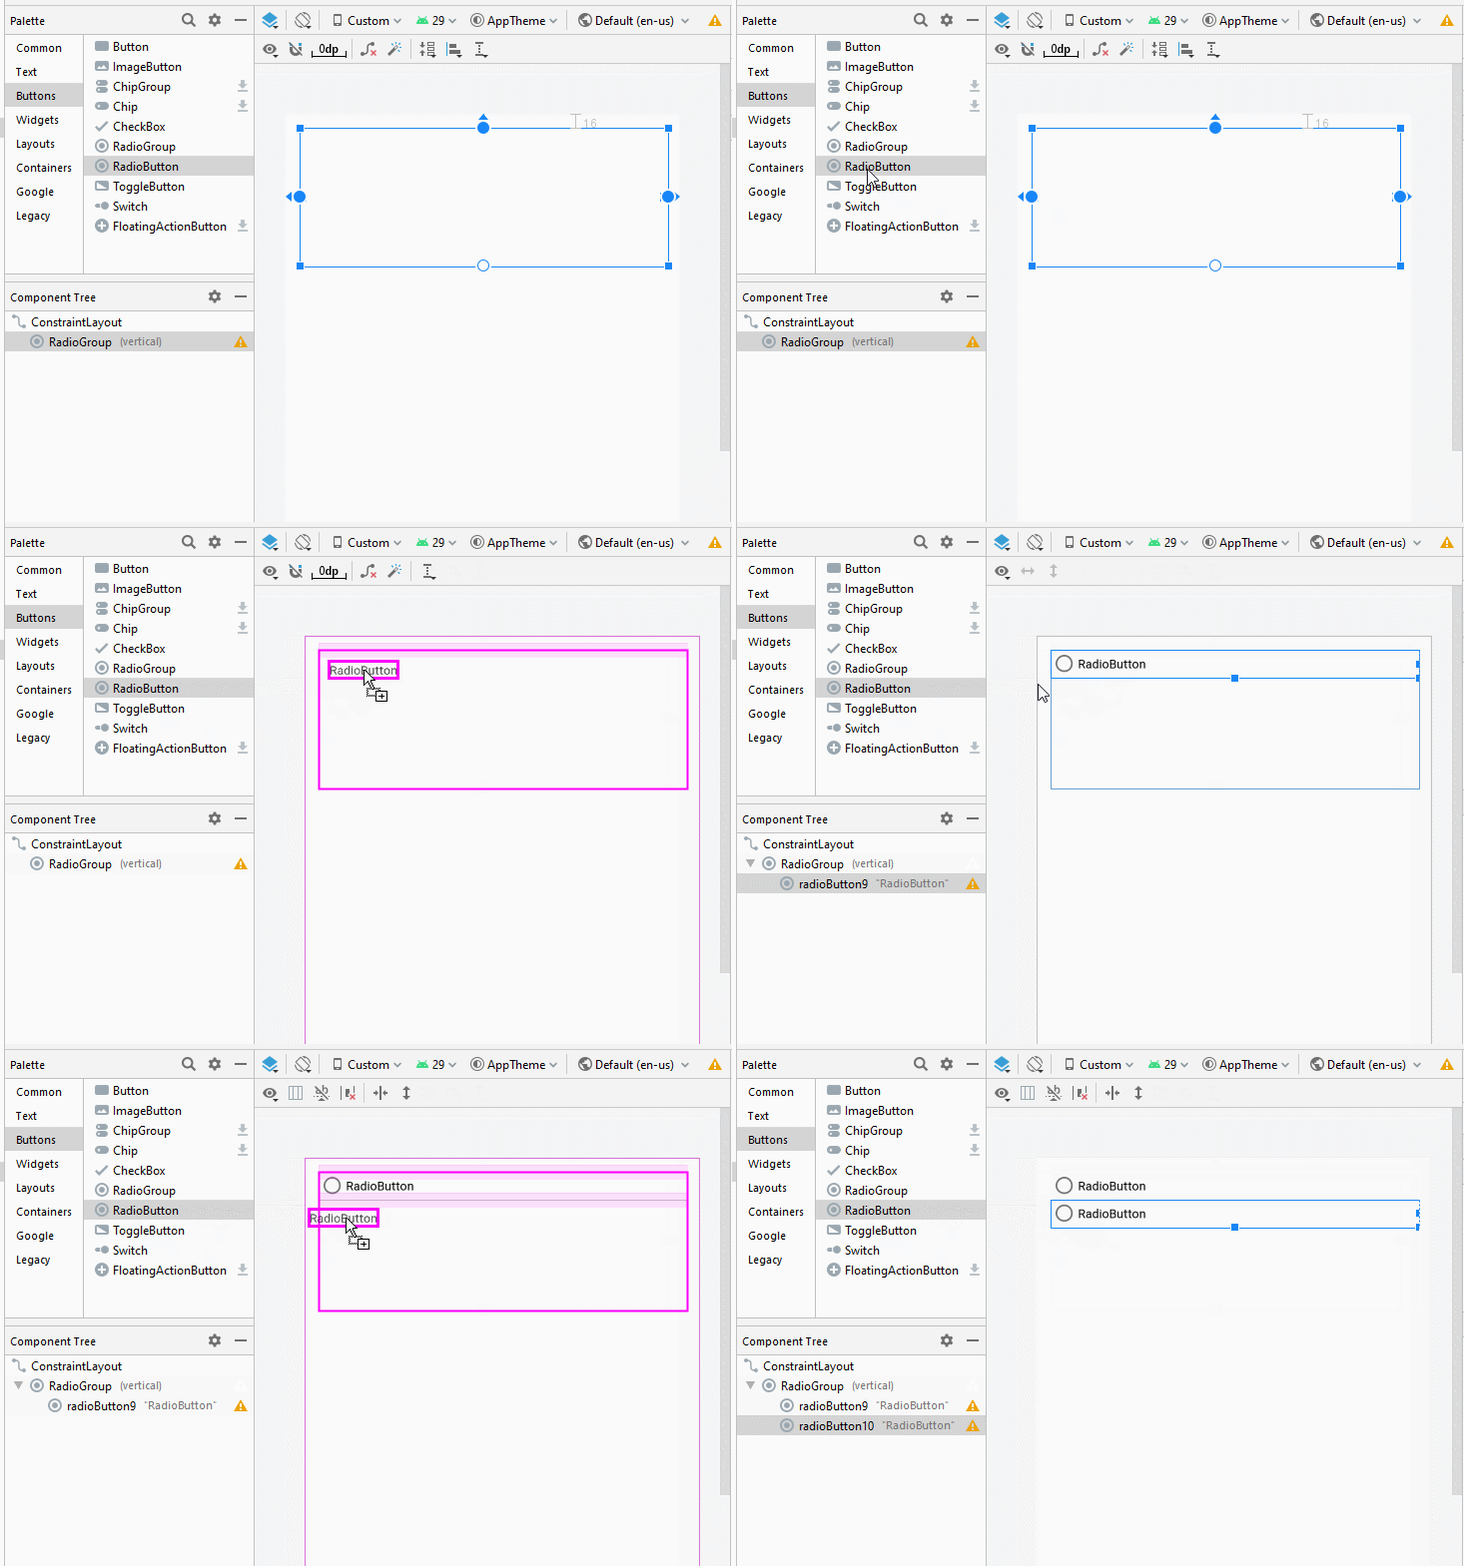
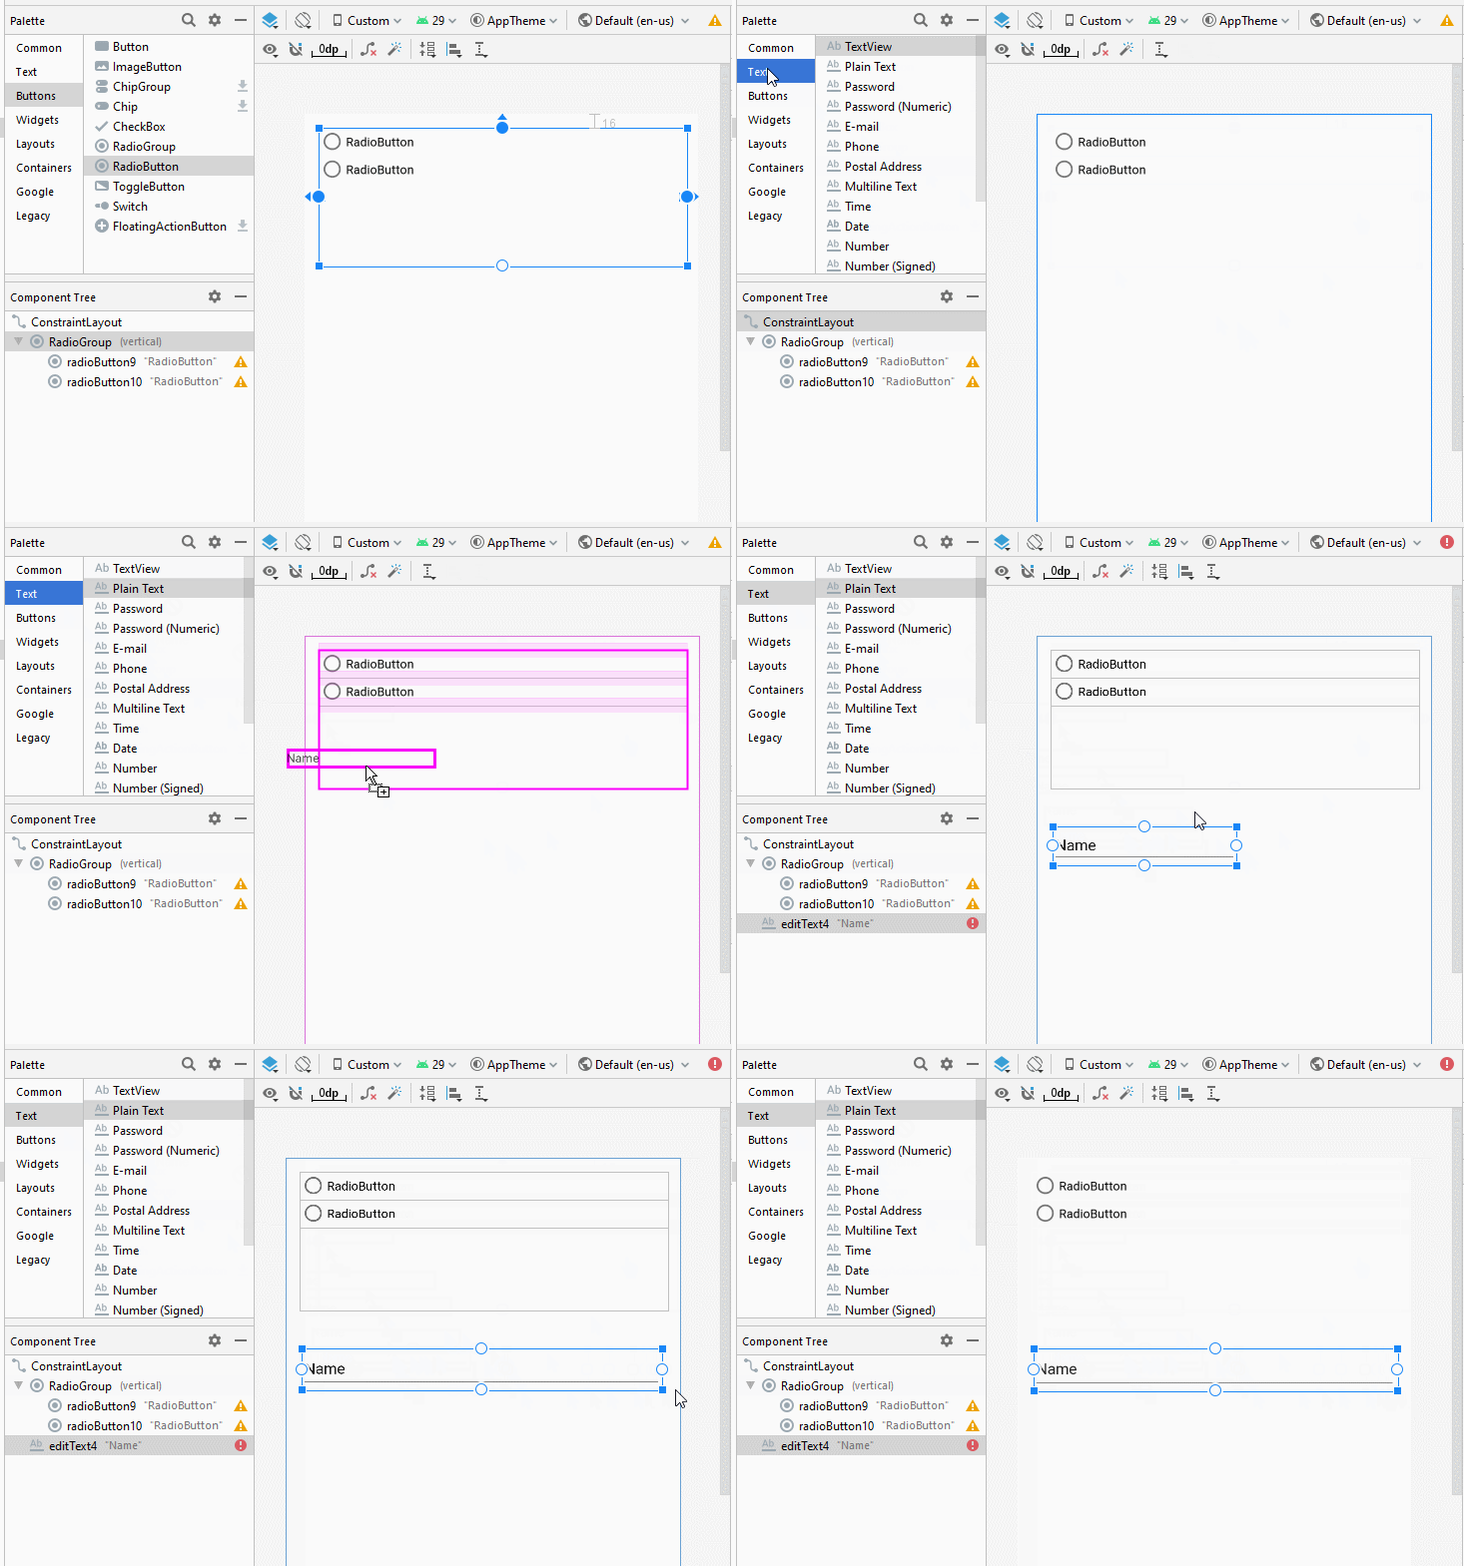
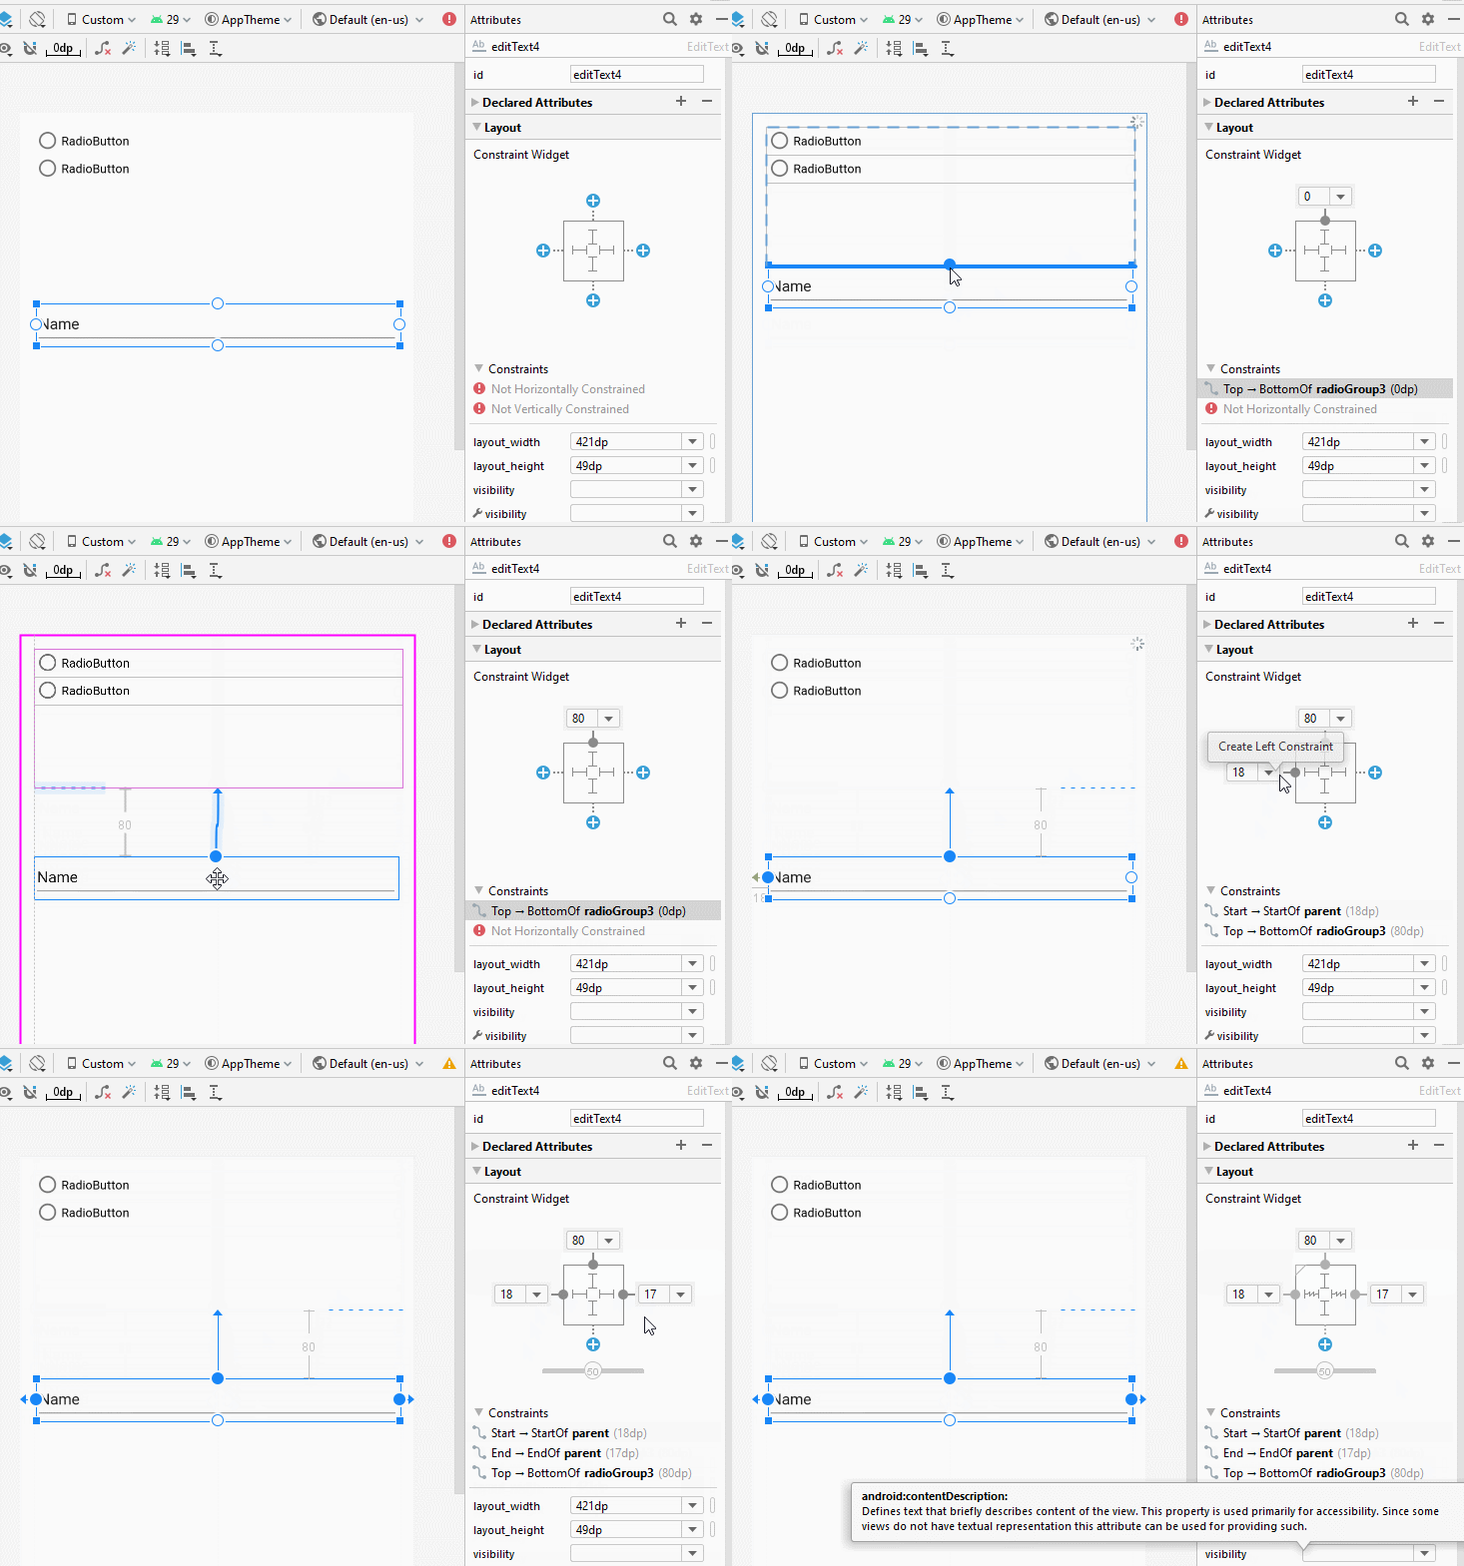
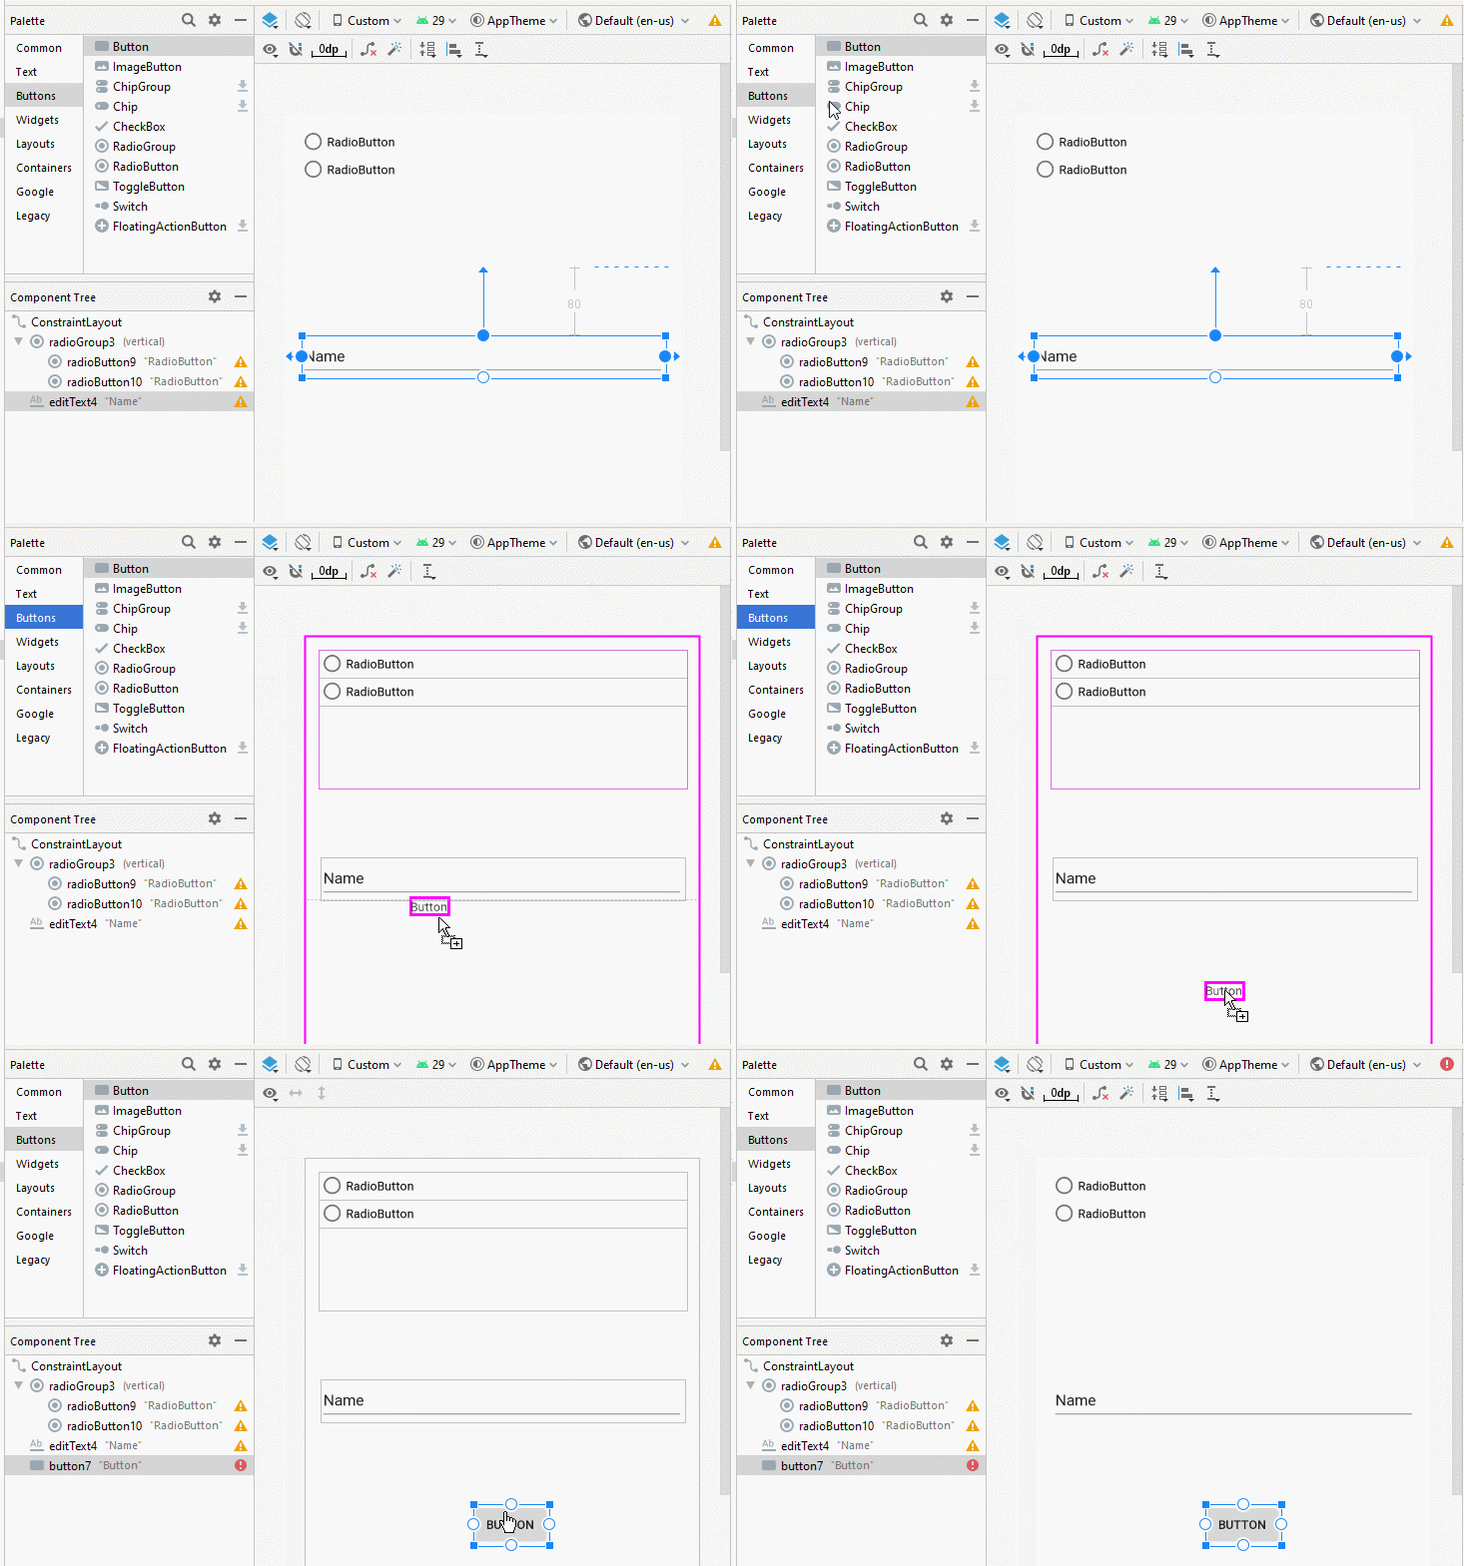
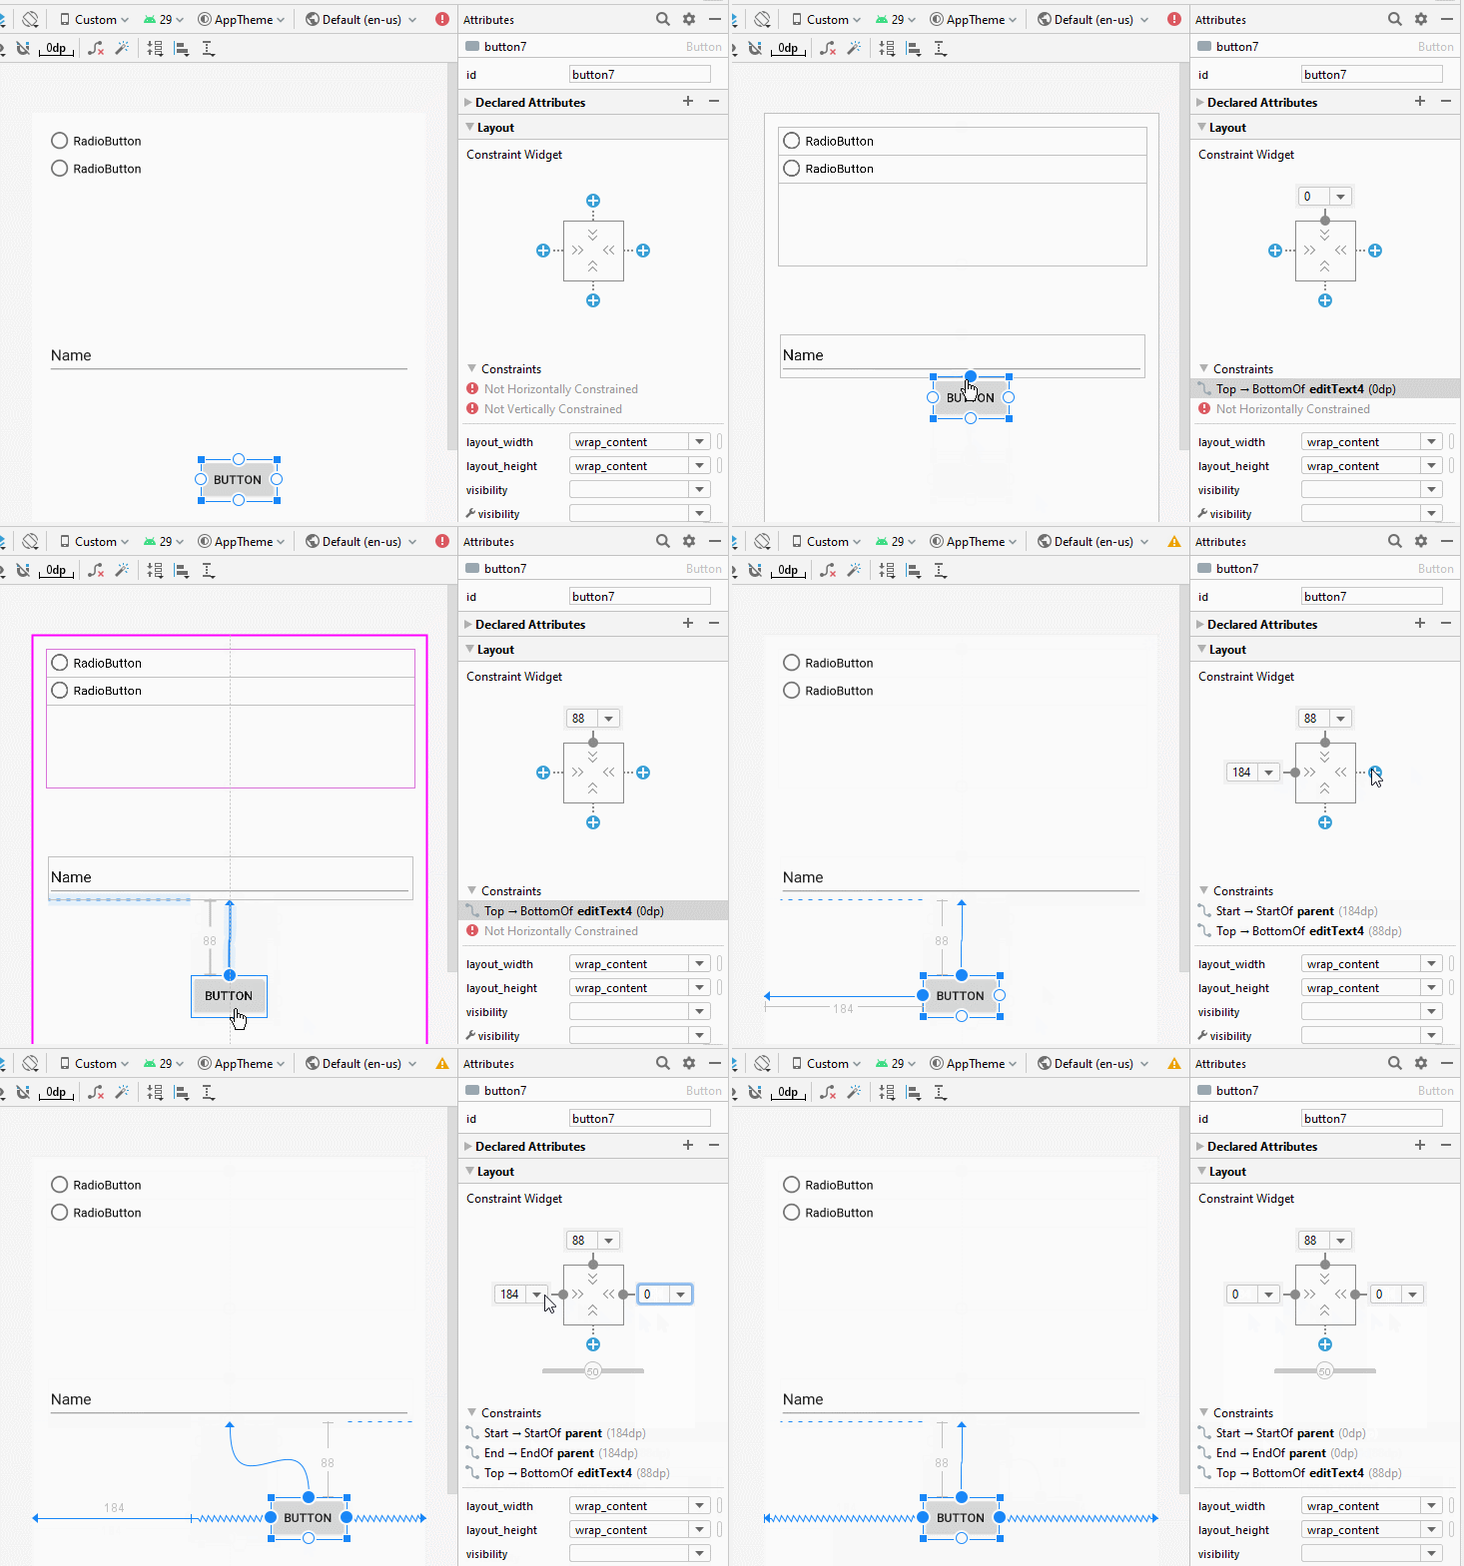
If you are interested in the design steps of this application interface, please see the appendix at the end of the article.
activity_main.xml
<?xml version="1.0" encoding="utf-8"?>
<androidx.constraintlayout.widget.ConstraintLayout
    xmlns:android="http://schemas.android.com/apk/res/android"
    xmlns:app="http://schemas.android.com/apk/res-auto"
    xmlns:tools="http://schemas.android.com/tools"
    android:id="@+id/ConstraintLayout"
    android:layout_width="match_parent"
    android:layout_height="match_parent"
    tools:context=".MainActivity" >

    <RadioGroup
        android:id="@+id/radioGroup"
        android:layout_width="0dp"
        android:layout_height="160dp"
        android:layout_marginStart="16dp"
        android:layout_marginLeft="16dp"
        android:layout_marginTop="16dp"
        android:layout_marginEnd="14dp"
        android:layout_marginRight="14dp"
        app:layout_constraintEnd_toEndOf="parent"
        app:layout_constraintStart_toStartOf="parent"
        app:layout_constraintTop_toTopOf="parent">

        <RadioButton
            android:id="@+id/radio_en"
            android:layout_width="match_parent"
            android:layout_height="wrap_content"
            android:text="English" />

        <RadioButton
            android:id="@+id/radio_fr"
            android:layout_width="match_parent"
            android:layout_height="wrap_content"
            android:text="France" />
    </RadioGroup>

    <EditText
        android:id="@+id/editText"
        android:layout_width="0dp"
        android:layout_height="49dp"
        android:layout_marginStart="18dp"
        android:layout_marginLeft="18dp"
        android:layout_marginTop="80dp"
        android:layout_marginEnd="17dp"
        android:layout_marginRight="17dp"
        android:ems="10"
        android:inputType="textPersonName"
        app:layout_constraintEnd_toEndOf="parent"
        app:layout_constraintStart_toStartOf="parent"
        app:layout_constraintTop_toBottomOf="@+id/radioGroup" />

    <Button
        android:id="@+id/button"
        android:layout_width="wrap_content"
        android:layout_height="wrap_content"
        android:layout_marginTop="88dp"
        android:text="Speak"
        app:layout_constraintEnd_toEndOf="parent"
        app:layout_constraintStart_toStartOf="parent"
        app:layout_constraintTop_toBottomOf="@+id/editText" />

</androidx.constraintlayout.widget.ConstraintLayout>
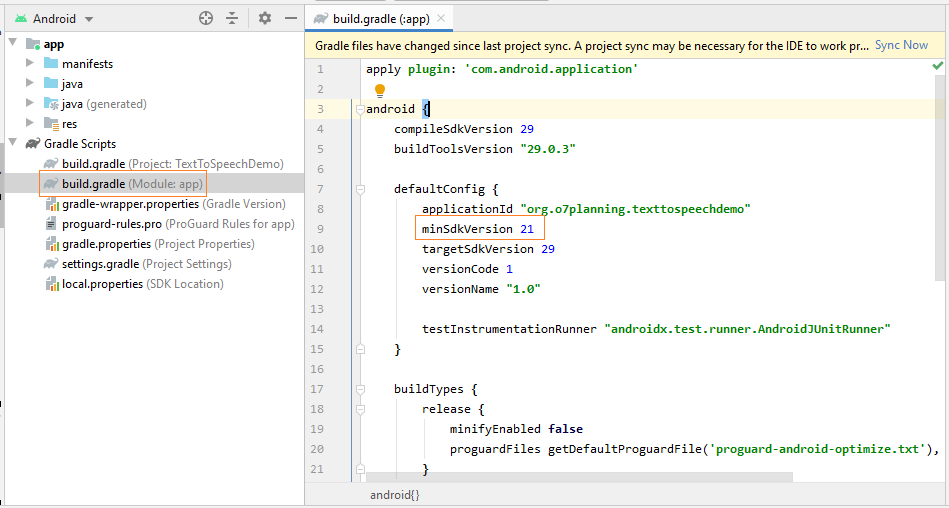
Min SDK Level
Text To Speech exige Android API Level >= 21 donc vous devez configurer dans le fichier build.gradle (Module:app).
minSdkVersion 21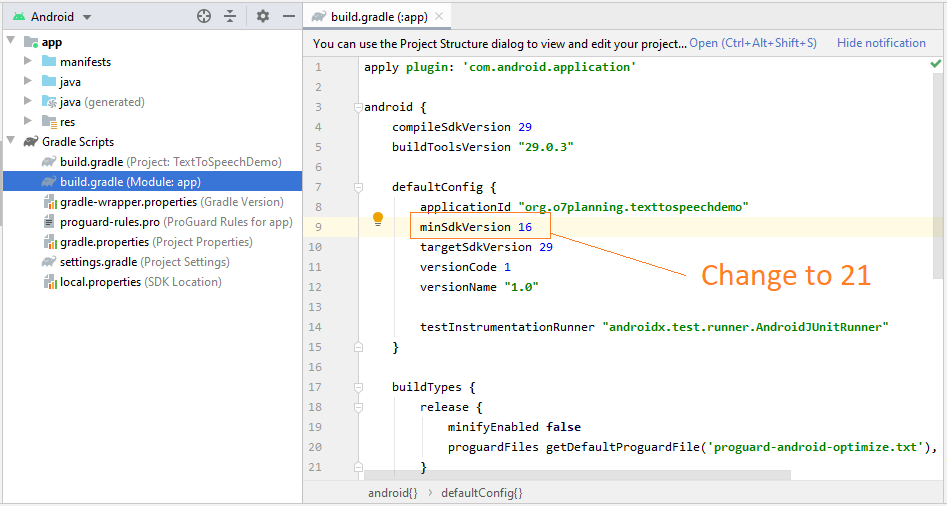
MainActivity.java
package org.o7planning.texttospeechdemo;

import android.app.Activity;
import android.os.Bundle;

import android.speech.tts.TextToSpeech;

import android.util.Log;
import android.view.View;

import android.widget.Button;
import android.widget.EditText;

import java.util.Locale;
import java.util.Set;
import java.util.UUID;

import android.widget.RadioButton;
import android.widget.RadioGroup;
import android.widget.Toast;

public class MainActivity extends Activity {
    private TextToSpeech textToSpeech;
    private EditText editText;
    private Button button;
    private RadioButton radio_en;
    private RadioButton radio_fr;
    RadioGroup radioGroup;

    private boolean ready;

    @Override
    protected void onCreate(Bundle savedInstanceState) {
        super.onCreate(savedInstanceState);
        setContentView(R.layout.activity_main);
        editText = (EditText) findViewById(R.id.editText);
        button = (Button) findViewById(R.id.button);
        radio_en = (RadioButton) findViewById(R.id.radio_en);
        radio_fr = (RadioButton) findViewById(R.id.radio_fr);
        radioGroup = (RadioGroup) findViewById(R.id.radioGroup);


        textToSpeech = new TextToSpeech(getApplicationContext(), new TextToSpeech.OnInitListener() {
            @Override
            public void onInit(int status) {
                Log.e("TTS", "TextToSpeech.OnInitListener.onInit...");
                printOutSupportedLanguages();
                setTextToSpeechLanguage();
            }
        });
        radioGroup.setOnCheckedChangeListener(new RadioGroup.OnCheckedChangeListener() {

            @Override
            public void onCheckedChanged(RadioGroup group, int checkedId) {
                setTextToSpeechLanguage();
            }
        });
        button.setOnClickListener(new View.OnClickListener() {
            @Override
            public void onClick(View v) {
                speakOut();
            }
        });
    }

    private void printOutSupportedLanguages()  {
        // Supported Languages
        Set<Locale> supportedLanguages = textToSpeech.getAvailableLanguages();
        if(supportedLanguages!= null) {
            for (Locale lang : supportedLanguages) {
                Log.e("TTS", "Supported Language: " + lang);
            }
        }
    }


    @Override
    public void onPause() {
        if (textToSpeech != null) {
            textToSpeech.stop();
            textToSpeech.shutdown();
        }
        super.onPause();
    }

    private void speakOut() {
        if (!ready) {
            Toast.makeText(this, "Text to Speech not ready", Toast.LENGTH_LONG).show();
            return;
        }
        // Text to Speak
        String toSpeak = editText.getText().toString();
        Toast.makeText(this, toSpeak, Toast.LENGTH_SHORT).show();
        // A random String (Unique ID).
        String utteranceId = UUID.randomUUID().toString();
        textToSpeech.speak(toSpeak, TextToSpeech.QUEUE_FLUSH, null, utteranceId);
    }

    private Locale getUserSelectedLanguage() {
        int checkedRadioId = this.radioGroup.getCheckedRadioButtonId();
        if (checkedRadioId == R.id.radio_en) {
            return Locale.ENGLISH;
        } else if (checkedRadioId == R.id.radio_fr) {
            return Locale.FRANCE;
        }
        return null;
    }


    private void setTextToSpeechLanguage() {
        Locale language = this.getUserSelectedLanguage();
        if (language == null) {
            this.ready = false;
            Toast.makeText(this, "Not language selected", Toast.LENGTH_SHORT).show();
            return;
        }
        int result = textToSpeech.setLanguage(language);
        if (result == TextToSpeech.LANG_MISSING_DATA) {
            this.ready = false;
            Toast.makeText(this, "Missing language data", Toast.LENGTH_SHORT).show();
            return;
        } else if (result == TextToSpeech.LANG_NOT_SUPPORTED) {
            this.ready = false;
            Toast.makeText(this, "Language not supported", Toast.LENGTH_SHORT).show();
            return;
        } else {
            this.ready = true;
            Locale currentLanguage = textToSpeech.getVoice().getLocale();
            Toast.makeText(this, "Language " + currentLanguage, Toast.LENGTH_SHORT).show();
        }
    }


}
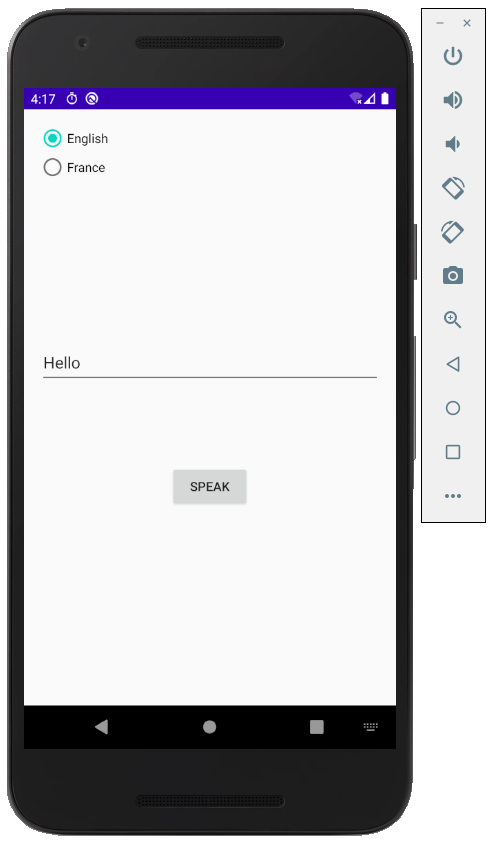
Exécutez l'application:
Tutoriels de programmation Android
- Configurer Android Emulator en Android Studio
- Le Tutoriel de Android ToggleButton
- Créer un File Finder Dialog simple dans Android
- Le Tutoriel de Android TimePickerDialog
- Le Tutoriel de Android DatePickerDialog
- De quoi avez-vous besoin pour démarrer avec Android?
- Installer Android Studio sur Windows
- Installer Intel® HAXM pour Android Studio
- Le Tutoriel de Android AsyncTask
- Le Tutoriel de Android AsyncTaskLoader
- Tutoriel Android pour débutant - Exemples de base
- Comment connaître le numéro de téléphone d'Android Emulator et le changer?
- Le Tutoriel de Android TextInputLayout
- Le Tutoriel de Android CardView
- Le Tutoriel de Android ViewPager2
- Obtenir un numéro de téléphone dans Android à l'aide de TelephonyManager
- Le Tutoriel de Android Phone Call
- Le Tutoriel de Android Wifi Scanning
- Le Tutoriel de programmation de jeux Android 2D pour débutant
- Le Tutoriel de Android DialogFragment
- Le Tutoriel de Android CharacterPickerDialog
- Le Tutoriel Android pour débutant - Hello Android
- Utiliser Android Device File Explorer
- Activer USB Debugging sur un appareil Android
- Le Tutoriel de Android UI Layouts
- Le Tutoriel de Android SMS
- Le Tutoriel de Android et SQLite Database
- Le Tutoriel de Google Maps Android API
- Le Tutoriel de texte pour parler dans Android
- Le Tutoriel de Android Space
- Le Tutoriel de Android Toast
- Créer un Android Toast personnalisé
- Le Tutoriel de Android SnackBar
- Le Tutoriel de Android TextView
- Le Tutoriel de Android TextClock
- Le Tutoriel de Android EditText
- Le Tutoriel de Android TextWatcher
- Formater le numéro de carte de crédit avec Android TextWatcher
- Le Tutoriel de Android Clipboard
- Créer un File Chooser simple dans Android
- Le Tutoriel de Android AutoCompleteTextView et MultiAutoCompleteTextView
- Le Tutoriel de Android ImageView
- Le Tutoriel de Android ImageSwitcher
- Le Tutoriel de Android ScrollView et HorizontalScrollView
- Le Tutoriel de Android WebView
- Le Tutoriel de Android SeekBar
- Le Tutoriel de Android Dialog
- Le Tutoriel de Android AlertDialog
- Tutoriel Android RatingBar
- Le Tutoriel de Android ProgressBar
- Le Tutoriel de Android Spinner
- Le Tutoriel de Android Button
- Le Tutoriel de Android Switch
- Le Tutoriel de Android ImageButton
- Le Tutoriel de Android FloatingActionButton
- Le Tutoriel de Android CheckBox
- Le Tutoriel de Android RadioGroup et RadioButton
- Le Tutoriel de Android Chip et ChipGroup
- Utilisation des Image assets et des Icon assets d'Android Studio
- Configuration de la Carte SD pour Android Emulator
- Exemple ChipGroup et Chip Entry
- Comment ajouter des bibliothèques externes à Android Project dans Android Studio?
- Comment désactiver les autorisations déjà accordées à l'application Android?
- Comment supprimer des applications de Android Emulator?
- Le Tutoriel de Android LinearLayout
- Le Tutoriel de Android TableLayout
- Le Tutoriel de Android FrameLayout
- Le Tutoriel de Android QuickContactBadge
- Le Tutoriel de Android StackView
- Le Tutoriel de Android Camera
- Le Tutoriel de Android MediaPlayer
- Le Tutoriel de Android VideoView
- Jouer des effets sonores dans Android avec SoundPool
- Le Tutoriel de Android Networking
- Analyser JSON dans Android
- Le Tutoriel de Android SharedPreferences
- Le Tutorial de stockage interne Android (Internal Storage)
- Le Tutoriel de Android External Storage
- Le Tutoriel de Android Intents
- Exemple d'une Android Intent explicite, appelant une autre Intent
- Exemple de Android Intent implicite, ouvrez une URL, envoyez un email
- Le Tutoriel de Android Service
- Le Tutoriel Android Notifications
- Le Tutoriel de Android DatePicker
- Le Tutoriel de Android TimePicker
- Le Tutoriel de Android Chronometer
- Le Tutoriel de Android OptionMenu
- Le Tutoriel de Android ContextMenu
- Le Tutoriel de Android PopupMenu
- Le Tutoriel de Android Fragment
- Le Tutoriel de Android ListView
- Android ListView avec Checkbox en utilisant ArrayAdapter
- Le Tutoriel de Android GridView
Show More
