Installer TeamViewer sur Ubuntu
1. Download TeamViewer
Afin de télécharger TeamViewer pour Ubuntu (Linux), accéder à l'adresse suivante:
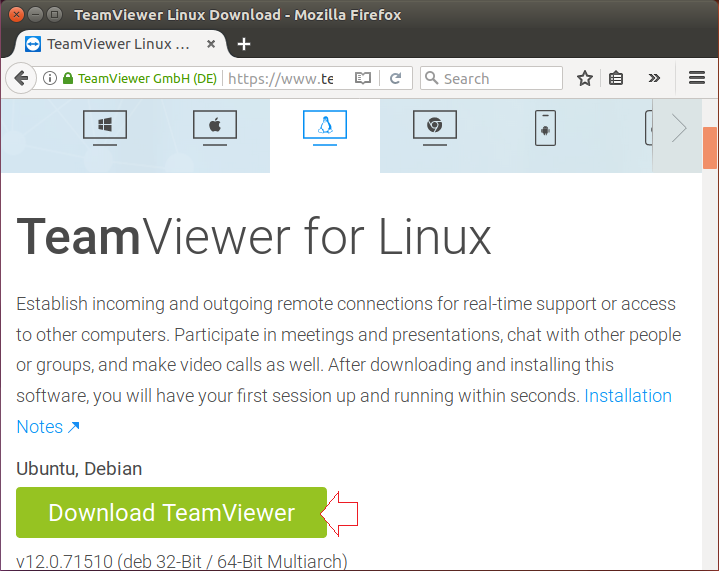
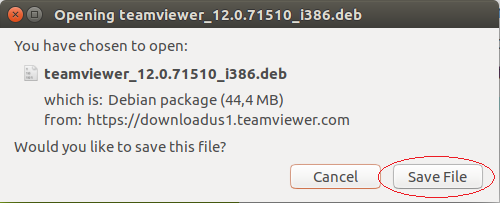
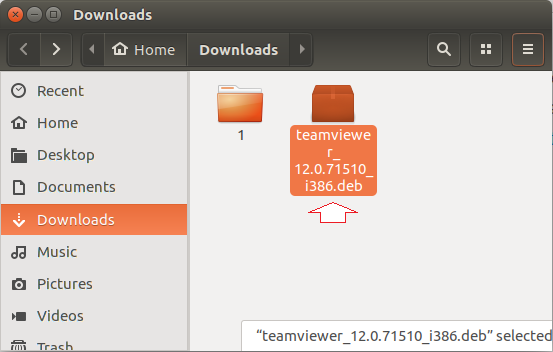
Comme résultat, vous téléchargez un fichier:
2. Installation de TeamViewer
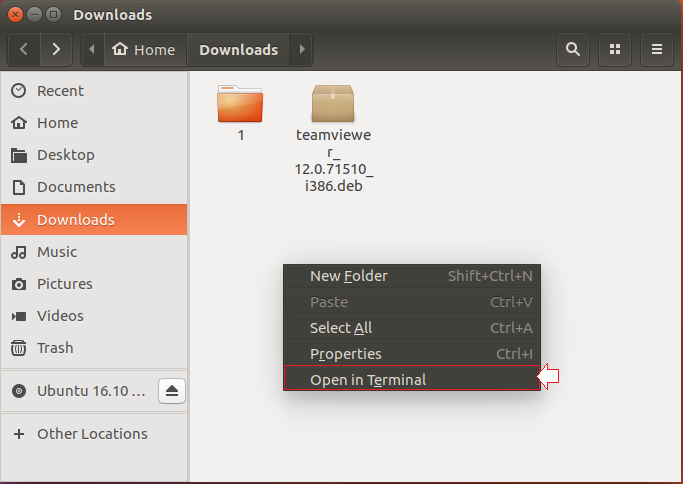
Ouvrir la fenêtre "Terminal" dans le dossier contenant le fichier que vous avez téléchargé dans l'étape au-dessus.
Si vous utilisez Ubuntu 64bit, il faut installer le support 32bit:
sudo dpkg --add-architecture i386
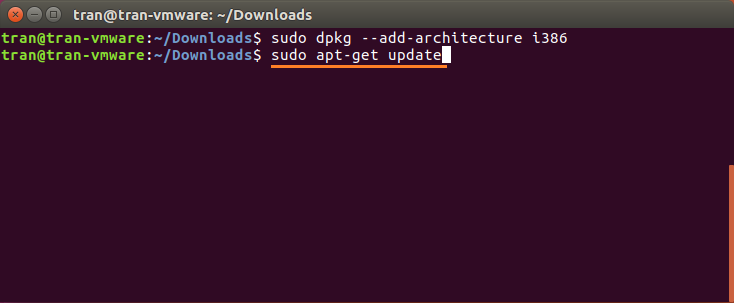
sudo apt-get update
sudo apt-get install -f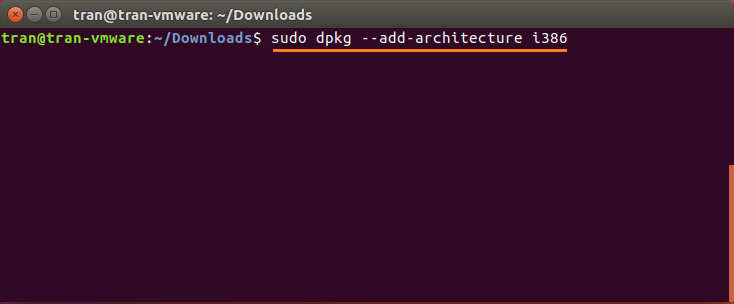
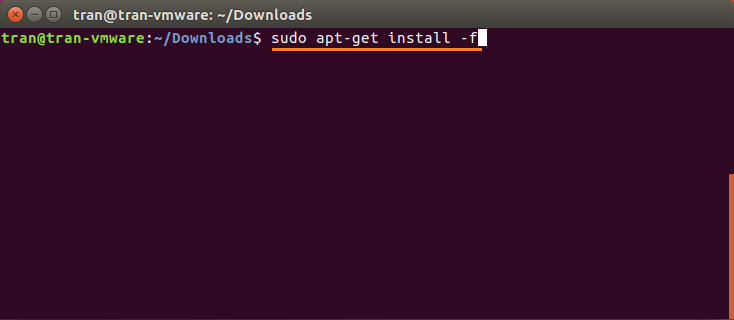
À ce stade, vous avez installé le support 32bit dans Ubuntu (Si votre Ubuntu est 64bit). Ensuite, installer TeamViewer.
# Install teamviewer
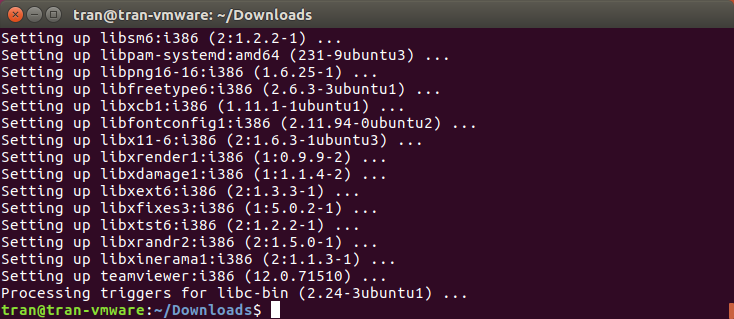
sudo dpkg -i teamviewer_12.xxx.deb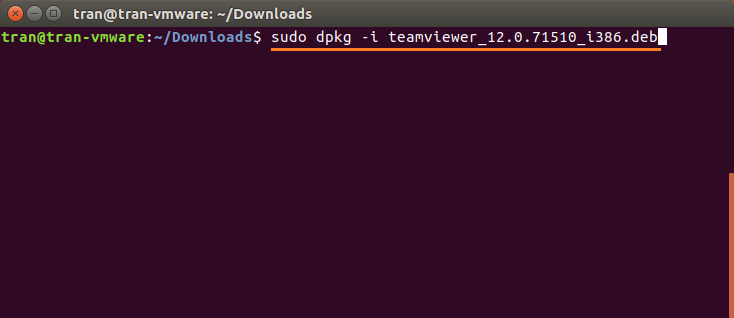
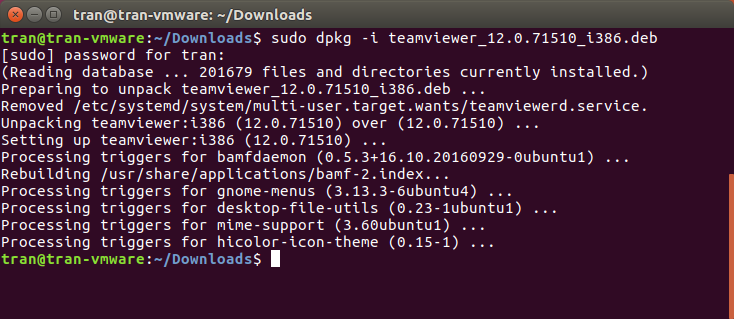
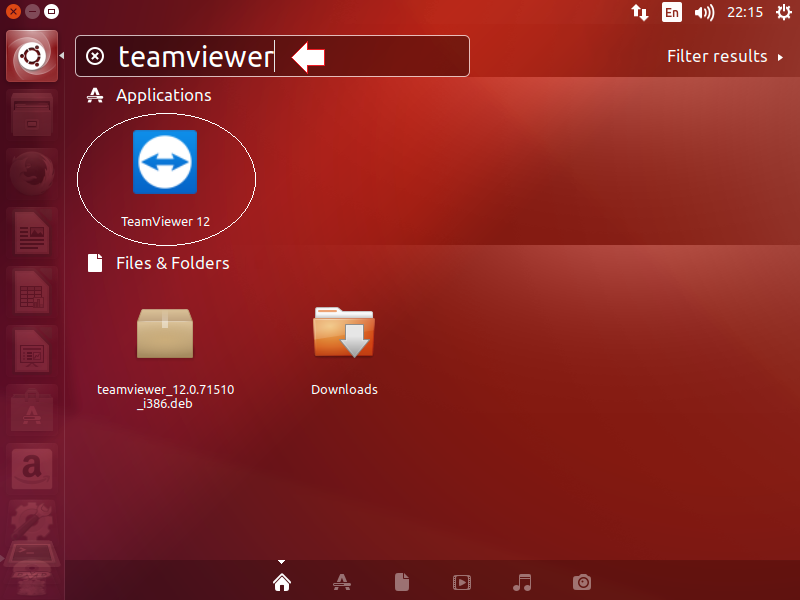
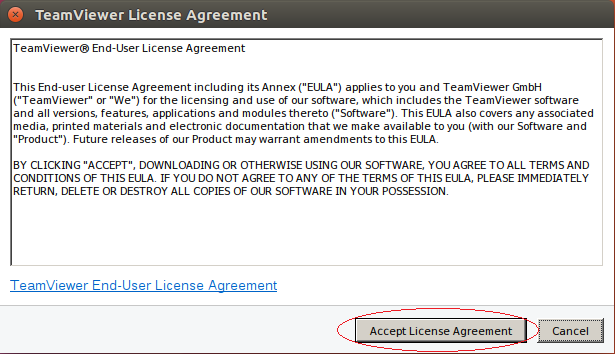
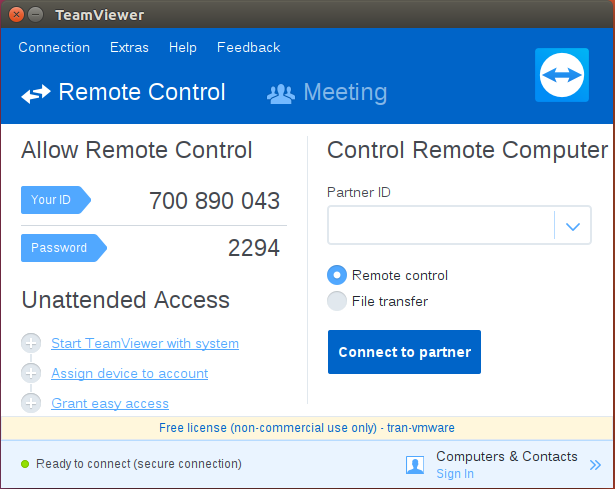
Votre TeamViewer a été installé avec succès, et vous pouvez l'utiliser immédiatement:

Tutoriels Ubuntu
- Installer le logiciel de partition de disque dur GParted sur Ubuntu
- Installer Ubuntu Desktop en VmWare
- Créer Launcher (shortcut) pour un programme de Ubuntu
- Installer Ubuntu Server en VmWare
- Installation de GUI et VNC sur le Ubuntu Server
- Installer OpenSSH Server sur Ubuntu
- Logiciel pour créer des notes sur le Desktop pour Ubuntu
- Installer TeamViewer sur Ubuntu
- Peek : le logiciel d’enregistrement des GIF pour Ubuntu
- Installer GUI et Remote Desktop pour Ubuntu Server
- Transférer des fichiers entre ordinateurs à l'aide de Cyberduck sur Mac OS
- Comment utiliser le fichier "hosts"?
- Installer le navigateur Firefox sur Ubuntu
- Rediriger le port 80, 443 sur Ubuntu à l'aide d'iptables
- Utiliser WinSCP pour transférer des fichiers entre ordinateurs
- Utilisation de Top Command - Task Manager pour Ubuntu
- Vérifiez Internet Speed avec speedtest-cli sur Ubuntu
- Installer Winrar sur Ubuntu
- Installer le xChm Viewer pour lire le fichier CHM sur Ubuntu
Show More